US Web Design System Hugo Basic Template
The U.S. Web Design System (USWDS) is a design system for the federal government to build accessible, mobile friendly government websites. But that doesn’t mean it can’t be used outside of government. I’m going to create a very basic hugo theme that utilizes this design system. Eventually when I build it up enough, I’d like to replace the theme initially used on the BogdanWorks website, gohugo-theme-ananke theme, with the USWDS theme I’m creating.
Developing a USWDS theme, will help me get familiar with this client-side system and familiarize myself with changing Hugo themes.
Assumptions
I’m assuming you have a grasp on how the hugo site generator works. If you don’t yet, go check out the Hugo documentation I’m also assuming Hugo, Nodejs and npm have been installed.
Creating New Hugo Site and Theme
The first step in my creation of my United States Web Design System Hugo theme is to create a new hugo site. I’m going to go to the directory where I will be creating and working on the template. In my case I created a folder titled “uswdsTheme” and I will change directory to that location:
cd uswdsThemeI will then create a new hugo website in this directory signified by the “.”
hugo new site .If you have tree installed you can look at the directory structure of your newly created site
bworks@BWorkss-iMac uswdsTheme % tree
.
├── archetypes
│   └── default.md
├── config.toml
├── content
├── data
├── layouts
├── static
└── themes
These are the standard files and directories you will have starting up a new hugo website. But next we will be adding a new theme to this site with the following command:
hugo new theme uswdsThemeAnd using tree to check out the directory structure you can see we have a themes folder added along with some additional directories and files.
tree
.
├── archetypes
│   └── default.md
├── config.toml
├── content
├── data
├── layouts
├── resources
│   └── _gen
│       ├── assets
│       └── images
├── static
└── themes
    └── uswdsTheme
        ├── LICENSE
        ├── archetypes
        │   └── default.md
        ├── layouts
        │   ├── 404.html
        │   ├── _default
        │   │   ├── baseof.html
        │   │   ├── list.html
        │   │   └── single.html
        │   ├── index.html
        │   └── partials
        │       ├── footer.html
        │       ├── head.html
        │       └── header.html
        ├── static
        │   ├── css
        │   └── js
        └── theme.toml
You can delete the css and js folders in the static folder as we will be moving these to an assets folder.
rm -r themes/uswdsTheme/static/css
rm -r themes/uswdsTheme/static/js
Installing USWDS
Ensure that you have the latest version of node and npm installed. If you do not, you can install nodejs and npm from the web. Confirm they are installed checking your versions:
% node -v
v16.10.0
% npm -v
8.3.0
The next step is to create a package.json file which will allow us to save all of the different modules and other properties about this project. Running the npm init command will run a utility that asks a number of setup questions to create a package.json file. Adding the -y will allow us to create a default package.json file without promting us for questions. Running either command you can modify the values in the file is created, if you would like.
% npm init -y
Wrote to /uswdsTheme/package.json:

{
  "name": "uswdsTheme",
  "version": "1.0.0",
  "description": "",
  "main": "index.js",
  "scripts": {
    "test": "echo \"Error: no test specified\" && exit 1"
  },
  "keywords": [],
  "author": "",
  "license": "ISC"
}
The next step is to install USWDS with npm.
% npm install uswds --save

added 9 packages, and audited 10 packages in 9s

found 0 vulnerabilities
npm notices …
Within the package.json file there now is a dependency added that looks like so,
"dependencies": {
   "uswds": "^2.13.0"
 }
We can also see a node_modules folder has a uswds folder in it. Do not modify anything in this folder. But seeing this file folder lets you know that you have successfully installed the uswds node package into your project.
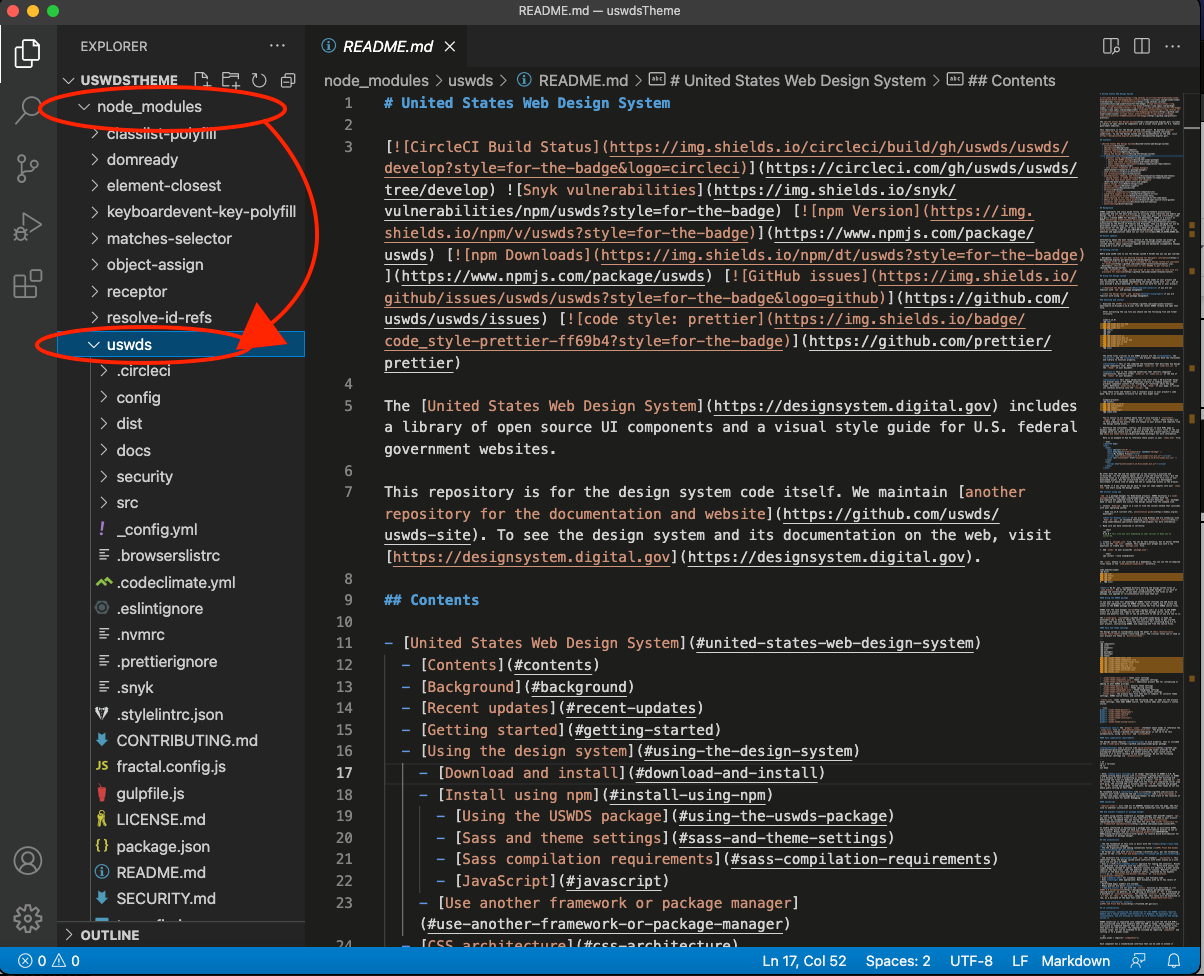
uswds folder inside of node_modules
Compiling USWDS SASS code
We will use uswds-gulp to set up a Sass entry point.
% npm i autoprefixer gulp gulp-replace sass del gulp-sass gulp-sourcemaps gulp-rename gulp-svg-sprite gulp-postcss postcss postcss-csso uswds uswds-gulp@github:uswds/uswds-gulp --save-devYou will notice that all of these dependencies appear in the package.json file:
 "devDependencies": {
   "autoprefixer": "^10.4.2",
   "del": "^6.0.0",
   "gulp": "^4.0.2",
   "gulp-postcss": "^9.0.1",
   "gulp-rename": "^2.0.0",
   "gulp-replace": "^1.1.3",
   "gulp-sass": "^5.1.0",
   "gulp-sourcemaps": "^3.0.0",
   "gulp-svg-sprite": "^1.5.0",
   "postcss": "^8.4.5",
   "postcss-csso": "^5.0.1",
   "sass": "^1.47.0",
   "uswds": "^2.13.0",
   "uswds-gulp": "github:uswds/uswds-gulp"
 }
Next configuration files need to be added to the project. Two configuration files needed to compile USWDS.
A gulpfile.js file which is used to tell gulp where your files reside and tasks / workflows related to them. A .browserslistrc file tells Gulp how to build CSS so it works in USWDS supported browsers (note USWDS will no longer support Internet Explorer 11 in USWDS version 3)
Running the following commands will copy default files from the node_modules folder to your project’s root directory (assuming you’re currently in your project folder, hence the “."):
cp node_modules/uswds-gulp/gulpfile.js .
cp node_modules/uswds-gulp/.browserslistrc .
You now have the two files in your root directory:
ls
total 1008
.
..
.browserslistrc
.git
.gitignore
archetypes
config.toml
content
data
gulpfile.js
layouts
node_modules
Package-lock.json
package.json
resources
static
themes
The next step is to update the gulpfile.js to specify where the USWDS SAS, image, fonts, javascript and css will go. I’m putting JavaScript and stylesheet files in an “assets” folder at the template directory. Putting the files there will allow us to use Hugo Pipes to minify and cache files for faster loading times. The other files are going into the “static” folder. My update to my gulpfile.js looks like this:
// Project Sass source directory
const PROJECT_SASS_SRC = "./themes/uswdsTheme/src/sass";

// Images destination
const IMG_DEST = "./themes/uswdsTheme/static/uswds/img";

// Fonts destination
const FONTS_DEST = "./themes/uswdsTheme/static/uswds/fonts";

// Javascript destination
const JS_DEST = "./themes/uswdsTheme/assets/js";

// Compiled CSS destination
const CSS_DEST = "./themes/uswdsTheme/assets/css";

// Site CSS destination
// Like the _site/assets/css directory in Jekyll, if necessary.
// If using, uncomment line 106
//const SITE_CSS_DEST = "./path/to/site/css/destination";
Running the following command will initialize the project by putting default files at the directories noted in gulpfile.js
npx gulp initUpdating SCSS files
The USWDS out of the box assumes you’re putting all five of the destinations in the same directory. We are deviating from this assumption, so we need to update a couple of other files so hugo can find the USWDS resources, images and fonts.
You’ll notice in your sass directory at themes/uswdsTheme/src/sass you’ll have a number of sass files. We need to update two of them. But first, let’s make sure we have gulp watching for changes when we update the scss files. To do this you go to your root directory in your terminal and you’ll run the following command:
gulp watch
[05:46:12] Using gulpfile ~/gulpfile.js
[05:46:12] Starting 'watch'...
[05:46:12] Starting 'build-sass'...
While the gulp watch task is running, the _uswds-theme-general.scss file can be updated by changing the line that says:
$theme-image-path: "../img";and update it to:
$theme-image-path: "../uswds/img";similarly the _uswds-theme-typography.scss needs to be updated from:
$theme-font-path: "../fonts";$theme-font-path: "../uswds/fonts";Adding references to USWDS files
To get started using the USWDS in your hugo site, you will need to update the hugo layout files, baseof.html and head.html, to include a reference to the stylesheet, JavaScript library and the JavasScript initializer.
The baseof.html file is your basic template that all pages will use. The file has code init already when creating a new hugo template. We’re adding the highlight lines below:
<!DOCTYPE html>
<html>
   {{- partial "head.html" . -}}
   <body>
       {{- partial "header.html" . -}}
       <div id="content">
       {{- block "main" . }}{{- end }}
       </div>
       {{- partial "footer.html" . -}}
       {{ $uswdsJsLib := resources.Get "js/uswds.js"
       | minify | fingerprint}}
       <script src="{{ $uswdsJsLib.RelPermalink }}" async></script>
   </body>
</html>
Updating Partials
There are references to html files (head.html, header.html and footer.html) in the baseof.html file that already exist in the layouts > partials folder. These partials are reusable pieces of code on that can be added to pages. Let’s update them so these repeated sections of the website will render correctly.
Updating head.html
The head.html will be the head tag in your html pages of yoru site. We’ll set the title and meta description and reference the USWDS javaacript initiation file and USWDS css file. Add the following to the head.html file:
<head>
    <meta charset="utf-8">
    <meta name="viewport" content="width=device-width, initial-scale=1">
    {{ $title := print .Site.Title " | " .Title }}
    {{ if .IsHome }}{{ $title = .Site.Title }}{{ end }}
    {{ $summary := trim (plainify .Description) "\n\r" | default .Title }}
    <meta name="description" content="{{ $summary }}">
    <link rel="canonical" href="{{ .Permalink }}">
    {{ hugo.Generator }}
    <title>{{ $title }}</title>
    {{ $uswdsJsInit := resources.Get "js/uswds-init.js" }}
    <script src="{{ $uswdsJsInit.Permalink }}"></script>
    {{ $uswdsStyle := resources.Get "css/styles.css" | minify | fingerprint }}
    <link rel="stylesheet preload prefetch" href="{{ $uswdsStyle.Permalink }}" as="script" crossorigin="anonymous">
</head>
Updating header.html
The header.html is going to set up the logo area and top menu. I’m just adapting the USWDS header component to fit my needs. Add the following to the header.html file:
<a class="usa-skipnav" href="#main-content">Skip to main content</a>

<div class="usa-overlay"></div>
<header class="usa-header usa-header--basic">
    <div class="usa-nav-container">
        <div class="usa-navbar">
            <div class="usa-logo" id="basic-logo">
                <em class="usa-logo__text">
                    <a href="/" title=" {{ .Title }}">
                        {{ .Site.Title }}
                    </a>
                </em>
            </div>
            <button class="usa-menu-btn">Menu</button>
        </div>
        <nav aria-label="Primary navigation" class="usa-nav">
            <button class="usa-nav__close">
                <img src="/uswds/img/usa-icons/close.svg" role="img" alt="Close" />
            </button>
            {{ if .Site.Menus.main }}
            <ul class="usa-nav__primary usa-accordion">
                {{ range .Site.Menus.main }}
                <li class="usa-nav__primary-item">
                    <a href="{{ .URL }}" class="usa-nav__link">
                        <span>{{ .Name}}</span>
                    </a>
                </li>
                {{end}}
            </ul>
            {{end}}
        </nav>
    </div>
</header>
<main id="main-content"></main>
Updating footer.html
The footer is going to have a return to the top link, menu items. Copy the following into the footer.html partial:
<footer class="usa-footer">
    <div class="grid-container usa-footer__return-to-top">
        <a href="#">Return to top</a>
    </div>
    <div class="usa-footer__primary-section">
        <nav class="usa-footer__nav" aria-label="Footer navigation">
            {{ if .Site.Menus.main }}
            <ul class="grid-row grid-gap">
                {{ range .Site.Menus.main }}
                <li class="mobile-lg:grid-col-4 desktop:grid-col-auto usa-footer__primary-content">
                    <a class="usa-footer__primary-link" href="{{ .URL }}">
                        {{ .Name }}
                    </a>
                </li>
                {{ end}}
            </ul>
            {{ end }}
        </nav>
    </div>

    <div class="usa-footer__secondary-section">
        <div class="grid-container">
            <div class="usa-footer__logo grid-row grid-gap-2">
                <div class="grid-col-auto">
                    <img class="usa-footer__logo-img" src="uswds/img/logo-img.png" alt="" />
                </div>
                <div class="grid-col-auto">
                    <p class="usa-footer__logo-heading">{{ .Site.Title }}</p>
                </div>
            </div>
        </div>
    </div>
</footer>
Other Default Layouts
Besides the baseof.html default layout that we already updated above, there is also a single.html and a list.html default layout.
The single.html layout displays a page that has a single piece of content on it, for example, a blog. Update the single.html file with the following:
<!DOCTYPE html>
<html>
{{- partial "head.html" . -}}

<body>
    {{- partial "header.html" . -}}
    <main id="main-content">
        <section class="grid-container usa-section">
            {{.Content}}
        </section>
    </main>
    {{- partial "footer.html" . -}}
</body>
A list.html layout displays a list of pieces of content, for example, a list of blog entries. Update the list.html with the following
{{ define "main" }}
<section class="grid-container usa-section">
    <h1>{{ .Title }}</h1>
{{ range .Pages.ByPublishDate.Reverse }}
<p>
    <h2><a class="title" href="{{ .RelPermalink }}">{{ .Title }}</a></h2>
    <a class="summary" href="{{ .RelPermalink }}">
        <p>{{ .Summary }}</p>
    </a>
</p>
<hr>
{{ end }}
</section>
{{ end }}
Developing a USWDS Homepage (Index.html)
To give your index page a head start you can paste a couple of the USWDS components and put them on the index.html page in the layouts folder. I’m actually going to the paste a couple sections from the USWDS landing-page template to my index page.
{{ define "main" }}
<!--Defining main block for baseof default layout  -->

<main id="main-content">
    <section class="usa-hero" aria-label="Introduction">
        <div class="grid-container">
            <div class="usa-hero__callout">
                <h1 class="usa-hero__heading">
                    <span class="usa-hero__heading--alt">Hero callout:</span>Bring attention
                    to a project priority
                </h1>
                <p>Support the callout with some short explanatory text. You don’t need more than a couple of sentences.
                </p><a class="usa-button" href="javascript:void(0)">Call to action</a>
            </div>
        </div>
    </section>


    <section class="grid-container usa-section">
        <div class="grid-row grid-gap">
            <div class="tablet:grid-col-4">
                <h2 class="font-heading-xl margin-top-0 tablet:margin-bottom-0">A tagline highlights your approach</h2>
            </div>
            <div class="tablet:grid-col-8 usa-prose">
                <p>The tagline should inspire confidence and interest, focusing on the value that your overall approach
                    offers to your audience. Use a heading typeface and keep your tagline to just a few words, and don’t
                    confuse or mystify.</p>
                <p>Use the right side of the grid to explain the tagline a bit more. What are your goals? How do you do
                    your work? Write in the present tense, and stay brief here. People who are interested can find
                    details on internal pages.</p>

            </div>
        </div>
    </section>


    <section class="usa-graphic-list usa-section usa-section--dark">
        <div class="grid-container">
            <div class="usa-graphic-list__row grid-row grid-gap">
                <div class="usa-media-block tablet:grid-col">
                    <img class="usa-media-block__img" src="/uswds/img/circle-124.png" alt="">
                    <div class="usa-media-block__body">
                        <h2 class="usa-graphic-list__heading">Graphic headings can vary.</h2>
                        <p>Graphic headings can be used a few different ways, depending on what your landing page is
                            for. Highlight your values, specific program areas, or results.</p>
                    </div>
                </div>
                <div class="usa-media-block tablet:grid-col">
                    <img class="usa-media-block__img" src="/uswds/img/circle-124.png" alt="">
                    <div class="usa-media-block__body">
                        <h2 class="usa-graphic-list__heading">Stick to 6 or fewer words.</h2>
                        <p>Keep body text to about 30 words. They can be shorter, but try to be somewhat balanced across
                            all four. It creates a clean appearance with good spacing.</p>
                    </div>
                </div>
            </div>
        </div>
    </section>


    <section id="test-section-id" class="usa-section">
        <div class="grid-container">
            <h2 class="font-heading-xl margin-y-0">Section heading</h2>
            <p class="usa-intro">Everything up to this point should help people understand your agency or project: who
                you are, your goal or mission, and how you approach it. Use this section to encourage them to act.
                Describe why they should get in touch here, and use an active verb on the button below. “Get in touch,”
                “Learn more,” and so on.</p>
            <a class="usa-button usa-button--big" href="javascript:void(0);">Call to action</a>
        </div>
    </section>

</main>

{{end}}
Configuration
You’ll need to update the config.toml file to specify that this hugo website that you created will be using your newly created theme. Add the highlighted line to your config.toml file:
baseURL = 'http://example.org/'
languageCode = 'en-us'
title = 'My New Hugo Site'
theme = "uswdsTheme"
At this point, you should be albe to launch your website and see your homepage with the USWDS components on it. Launch the website by running the following command from your terminal:
Hugo serverWith the website now working you can create new single pages, like an about page and also add posts.
hugo new About.mdhugo new posts/my-first-post.mdConclusion
This is just the start of a hugo website using the USWDS. There is still more to do after making it more thorough– packaging template so others can use it, publishing to sites like https://themes.gohugo.io and https://jamstackthemes.dev/ssg/hugo/ . I’m planning on building on this to make an even more eloborate theme that I can use on this website. Perhaps I can then publish it for others to use.